About Music, Recording and Visualizations
2018 closed its doors, and I want to review some of the things that influenced me in the second half of this year and thank one person in particular who doesn’t know I exist or how much he helped me. This post is going to be a round-trip touching quite some topics, but in the end we will bring everything together with a nice visualization using Mathematica. I promise.
It all started when I accidentally came across a metal cover of the famous song “Sultans of Swing” recorded by a guy named Leo Moracchioli. The song features Mary Spender who also publishes her music online and I’m inclined to say that Mary was the necessary ingredient to make this video as awesome as it is. The way she is so annoyed by Leo’s metal shredding is hilarious and that alone makes it worth watching.
What impressed me, however, is the quality of the music but seeing it was recorded in a studio, I simply acknowledged that Leo must be good at what he does. I checked his other videos and as it turned out, Leo had spent the last couple of years to record many of such cover songs. But there was more to discover. To my surprise he also published tutorials describing in detail how he records and mixes his material. What struck me was that he claimed you don’t need very expensive studio equipment to produce high quality music.
That was something I simply could not believe. After almost 20 years in a band and several failed attempts of “let’s make a record at home”, I had basically given up on the idea of producing something that I like without going into a real studio. It’s just hard to capture the sound of instruments correctly and bring everything together in one big mix. You need detailed knowledge about microphones, equalizers, compressors, and other effects. For me, as a n00b in studio recording, the drums in particular are difficult to capture. First, the drumset needs at least 10 microphones if you want to record all drums and the cymbals separately (2 base, 2 snare, 4x toms, 1 high-hat, 2 overhead is the usual setup). Each microphone has its own specs and only experts know why they use a particular one. But making the signal that comes from these microphones sound like a good drumset is a whole different story.
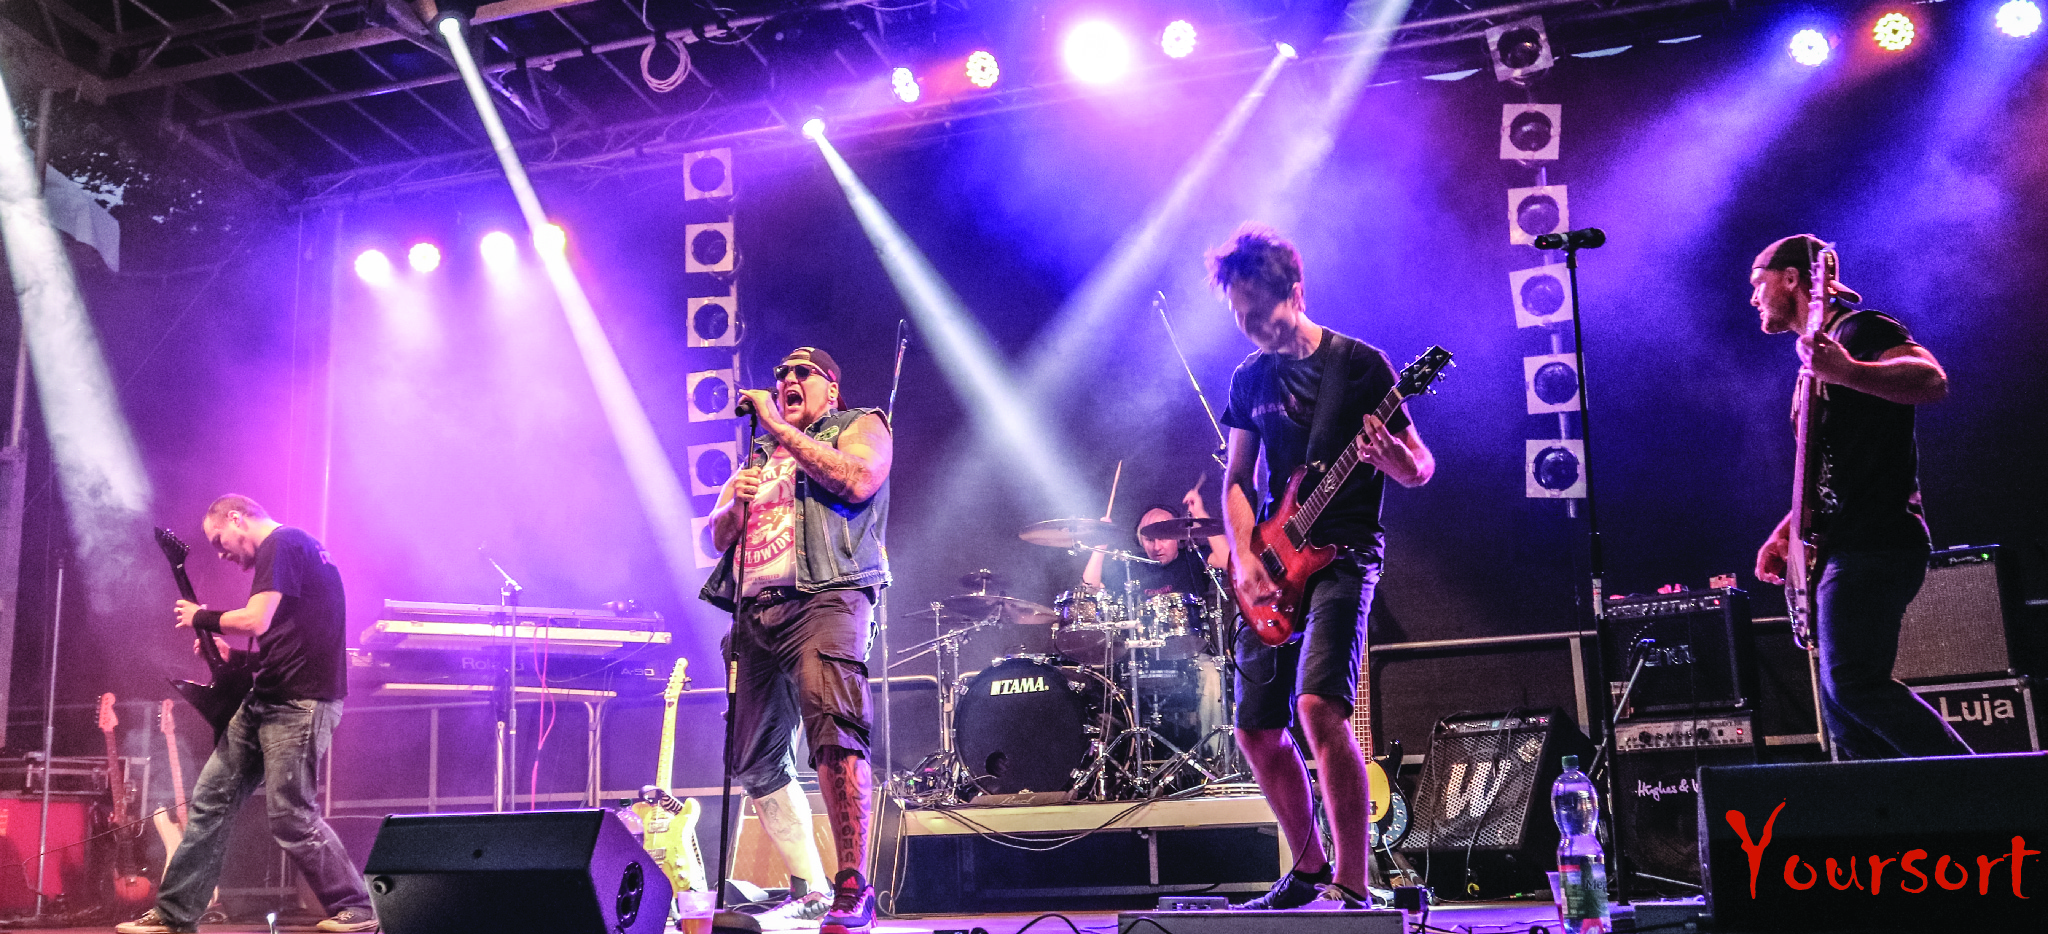
I have played countless gigs and believe me, beside the concert itself, one of the greatest things during the sound-check is when the guy behind the FOH has adjusted all the mics, frequencies and effects and finally turns the volume to the main speakers up. One moment it sounds like you are druming on empty buckets and the next moment it just blasts you away. It’s magic. But let’s get back to our story. The one thing I knew was that we, as a band, would never be able to record something ourselves that conveys how we want our music to sound. It turned out, I was wrong.
As I was watching through Leo’s videos, I came across a particular one titled “What I used: DRUMS” where he showed that he doesn’t record real drums but instead uses a software instrument and sets the MIDI notes. The mind-blowing thing to me was not that something like this is possible; I already knew that. But did he honestly try to tell me that the awesome drums from his songs are made like that? I was hooked and continued to watch most of the tutorials to understand his tool-chain.
After a while, I was convinced. I needed to try this myself and started downloading Reaper, a so-called digital audio workstation that lets you record, edit, and mix tracks. As a plugin for Reaper, I used Toontrack’s EZDrummer 2 just like Leo had explained. So within Reaper, I can have virtual instruments like drums which take their sound from EZDrummer. All I have to know is what I actually play in our songs and then I can set it note for note in the MIDI editor and it uses a professionally recorded drum-set to produce the final sound.
I experimented a bit and was not disappointed. The sound was just great and Reaper has a stunning user interface which is extremely intuitive. Pretty soon it was clear to me that I wanted to give this a real try. A whole song. I sent some of my drum experiments to the band and asked what they think of it and if we should try to record a song. They were delighted. I began by setting up a whole drum track and we recorded the bass, the guitars and finally the vocals.
Here is our song “Change”. It’s far from perfect, but considering that I started with almost no knowledge, I believe we are on a good way. Nothing of this would have been possible without Leo sharing his experience and giving all the information for free. That’s why I want to shout out a very big Thank You to Leo Moracchioli. Only thanks to you, I gave this a real try and it has brought so much fun along the way. Thank you dearly for that.

To everyone else: If you happen to enjoy metal cover songs, you should definitely have a look at his music. All his songs are available on YouTube, ITunes, Amazon and Google Play.
While hand-made metal and rock music is one of my favorite genres, I certainly enjoy other kinds of music. Especially, when I write code, I can rarely listen to rock music for the simple reason that I tend to lose focus and start to think about what the instruments play. I found classical or electronic music a much better companion in such situations. On the electronic side, Deadmau5 has been one of my favorites for a while.
But since I learned how to use Reaper, why shouldn’t I create my own programming music? The advantage is that I don’t need to record any thing at all; no guitar, no bass, no vocals. I can use a small keyboard or set the notes directly in the MIDI editor. Over the Christmas holidays I gave this a try and it was so much fun. I bought a nice synthesizer plugin named HELIX and threw together drums, bass and some harmonics.
So far so good, but what was missing is a nice visualization and this brings us to the last part of this post. My idea was to create a function that takes frequencies and the volume of the song bit by bit and creates a colorful image for each portion. If I have for each second of the song 30 images, I can merge them together into a video for the song.
I imported the MP3 into Mathematica and used AudioLocalMeasurements to extract the mel-frequency cepstral coefficients (MFCC)
and the loudness
audio = Import[file];
meas = AudioLocalMeasurements[audio, {"MFCC", "Loudness"},
         Association, PartitionGranularity -> Quantity[1./30., "Seconds"]];
This gives two TimeSeries and lets you extract values for every time point of the song.
The MFCC is a list of numbers that represent (afaik) the strengths of certain frequencies.
The loudness is a single number and gives an estimated loudness measure of the portion.
To visualize it, I used a single ParametricPlot that uses the frequency-strengths as factors of a simple trigonometric
sum which is plotted in a circular fashion.
The size of the circular structure is influenced by the loudness and in addition, it rotates slowly over time.
To colorize the plot, I used the distance from the origin and employed one of Mathematica’s color schemes.
The majority of the function below is setting up options to create a plot with fixed plot-range, aspect ratio, etc., and turn it
into a slightly blurred image of fixed resolution.
(* Change the line below if you want full HD *)
resolution = {1920, 1080}/10;
ratio = Divide @@ resolution;
With[{mfcc = meas["MFCC"], loudness = Rescale[meas["Loudness"]]},
gr[time_?NumericQ] := With[{f = mfcc[time], l = loudness[time]},
Block[{img, t},
With[{s = Sum[4 f[[i]]*Sin[(i + 3)*t], {i, Length[f]}]},
img =
ParametricPlot[(s + 2 l + .1) {Cos[t + .2 time], Sin[t + .2 time]}, {t, 0, 2 Pi},
PlotRange -> {{-2, 2}*ratio, {-2, 2}},
PlotRangeClipping -> True,
PlotRangePadding -> None,
PlotStyle -> Directive[Thickness[0.008]],
Axes -> False,
ColorFunction -> Function[{x, y, u}, ColorData["Rainbow", Norm[{x, y}]]],
ColorFunctionScaling -> False,
Background -> Black,
AspectRatio -> 1/ratio];
GaussianFilter[Rasterize[img, ImageSize -> resolution], First[resolution]/400.]
]]
]
]
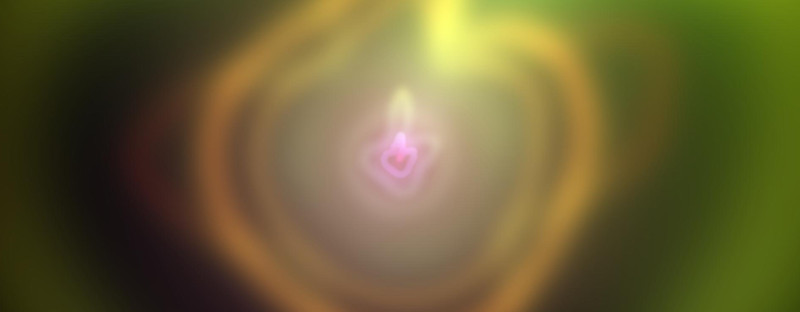
gr[250]This is how a frame at t=250s looks like

Unspectacular to say the least, but we are not quite done.
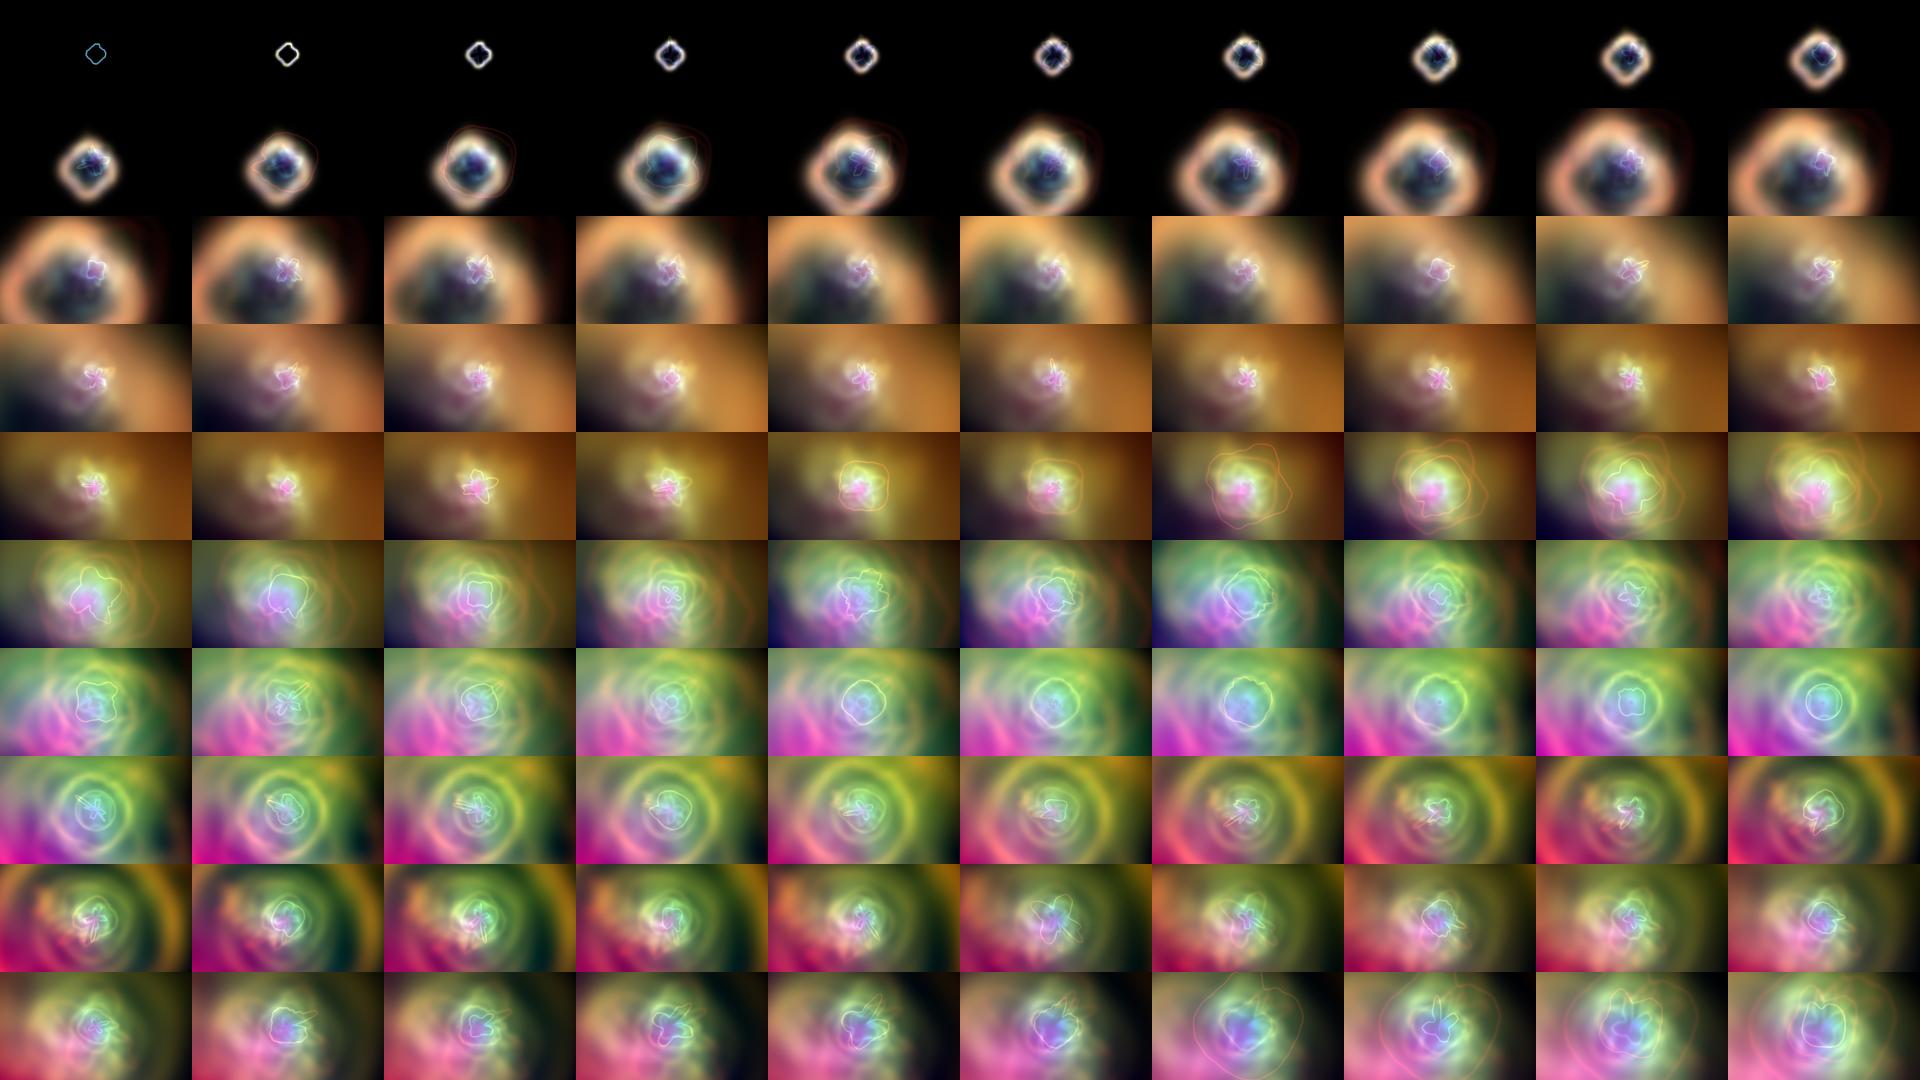
A simple trick to make it more interesting is to Fold frames so that the old frame leaves a trace in each subsequent image.
Specifically, I blurred the old frame, enlarged it and cropped it back to the original size.
It is then added to the current frame, where I give the old frame a higher weight before using ImageAdjust to rescale
all pixel values.
This makes everything very colorful and foggy, and the enlargement gives the impression as if we would move forward in space.
tstart = 100;
FoldList[
  ImageAdjust[
    ImageCrop[
      ImageResize[5 GaussianFilter[#1, First[resolution]/100.], Scaled[22/20]],
      resolution
    ] + gr[#2]
  ] &,
  gr[tstart], Range[tstart, tstart + 100]
]
The above is now used to create a frame each 1/30th second which is then exported as an image.
After all frames are created, I merged the music and the single frames into one video using ffmpeg
ffmpeg -y -framerate 30 -start_number 0 -i path/to/frames/%6d.jpg -i path/to/song.mp3 \
-c:v libx264 -crf 15 -tune animation -pix_fmt yuv420p \
-c:a aac -strict experimental -shortest video.mp4
Don’t ask me about the specific options. I stole everything from StackExchange and the documentation. The important part
is that I exported frames using filenames of the form 012345.jpg which are then used by ffmpeg in the path/to/frames/%6d.jpg
option. The -crf 15 option gives afaik a better quality, but increases the file-size a bit.
So when you watch the video in 1080p quality, compression artifacts should be minimal.
Below is the final result. As you have seen, we based our visualization on the inspection of the final sound. However, Mathematica supports the MIDI format and it should be easily possible to make something funny that uses the single notes of the instruments. Maybe I cover this some other time.